在 Linux 上部署 seafile 私有云盘服务
Overview
前面有发过一文对部署私有网盘给了一些建议 《部署个人私有云盘的一些建议》, 我个人比较推荐 Seafile , 本文就主要分享一下在 gentoo linux 下部署 seafile 服务
系统安装
Gentoo 中并未收录 seafile-server 应用. 所以 emerge 命令是没有办法安装的, 如果有兴趣的小伙伴, 可以给 gentoo portage 提交 patch 把 seafile-server 放进去 源代码在这里 https://github.com/haiwen
最新版的代码已经废弃了 ccent-server 了, 转到了 seafile-server 中
- seahub: Web 端服务
- seafile-server: RPC服务
- seafdav: seafile的webdav服务
有极客的朋友可以挑战手动安装, 不过我不建议手动安装, 升级太麻烦了.
二进制包安装
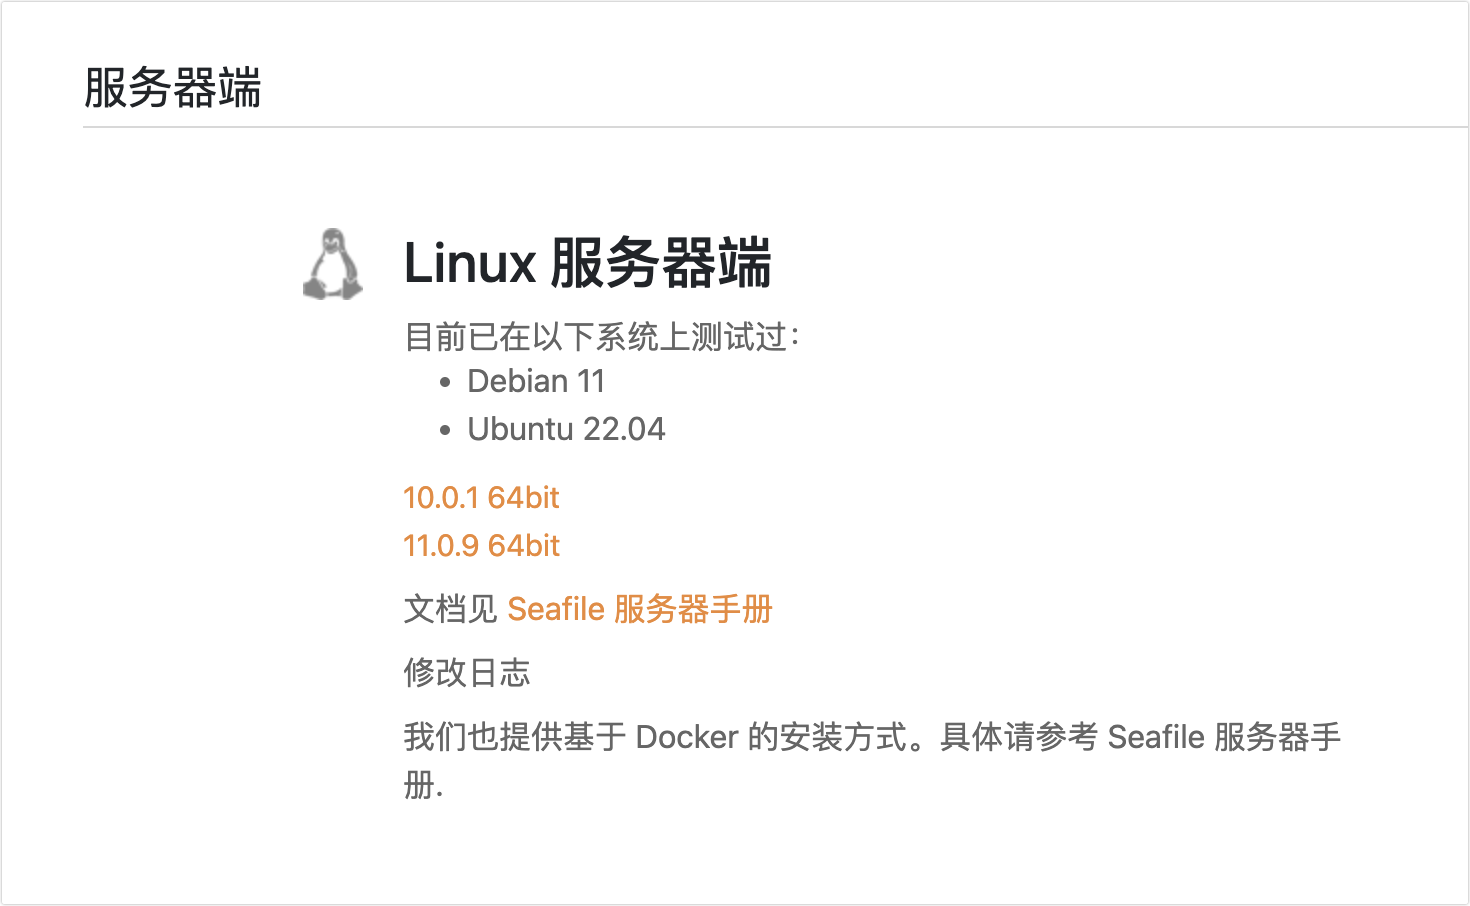
二进制包安装比较简单, 官方文档写的非常清楚了.
下载 二进制包

以 11.0.9 64bit 为例, 下载后 解压.
假设你已经下载 seafile-server_* 到/opt/seafile目录下。 我们建议这样的目录结构:
1mkdir /opt/seafile
2mv seafile-server_* /opt/seafile
3cd /opt/seafile
4#将 seafile-server_* 移动到 seafile 目录下后
5tar -xzf seafile-server_*
6mkdir installed
7mv seafile-server_* installed
你的目录看起来应该像这样子:
 1#tree seafile -L 2
 2haiwen
 3├── installed
 4│   └── seafile-server_11.0.9_x86-64.tar.gz
 5└── seafile-server-11.0.9
 6    ├── reset-admin.sh
 7    ├── runtime
 8    ├── seafile
 9    ├── seafile.sh
10    ├── seahub
11    ├── seahub.sh
12    ├── setup-seafile-mysql.sh
13    └── upgrade
这样设计目录的好处在于:
- 和 seafile 相关的配置文件都可以放在 /opt/seafile/conf 目录下,便于集中管理.
- 后续升级时,你只需要解压最新的安装包到 /opt/seafile 目录下.
安装依赖
Gentoo 系统需要配置 PYTHON_SINGLE_TARGET 为 python3_11 , seafile目前仅支持到 python 3.11
我习惯于创建虚拟环境来安装python, 这样各个依赖相互独立
1python -m venv venv
2source venv/bin/active
3# 注意: 各版本对python模块的依赖有一些区别的, 这里是11.0.x的依赖, 如果不是11.0.x版本, 请参考官方文档
4pip install django==3.2.* future==0.18.* mysqlclient==2.1.* pymysql pillow==10.0.* pylibmc captcha==0.4 markupsafe==2.0.1 jinja2 sqlalchemy==2.0.18 psd-tools django-pylibmc django_simple_captcha==0.5.* djangosaml2==1.5.* pysaml2==7.2.* pycryptodome==3.16.* cffi==1.15.1 python-ldap==3.4.3 lxml
安装
cd seafile-server-11.0.9 ./setup-seafile-mysql.sh #运行安装脚本并回答预设问题
1-------------------------------------------------------
2Please choose a way to initialize seafile databases:
3-------------------------------------------------------
4[1] Create new ccnet/seafile/seahub databases
5[2] Use existing ccnet/seafile/seahub databases
如果没有数据库, 那选 1
执行完, 目录结果应该如下
 1#tree seafile -L 2
 2seafile
 3├── conf
 4│   └── ccnet.conf
 5│   └── seafile.conf
 6│   └── seahub_settings.py
 7│   └── gunicorn.conf
 8├── installed
 9│   └── seafile-server_11.0.9_x86-64.tar.gz
10├── seafile-data
11├── seafile-server-11.0.9  # active version
12│   ├── reset-admin.sh
13│   ├── runtime
14│   ├── seafile
15│   ├── seafile.sh
16│   ├── seahub
17│   ├── seahub.sh
18│   ├── setup-seafile-mysql.sh
19│   └── upgrade
20├── seafile-server-latest  # symbolic link to seafile-server-8.0.0
21├── seahub-data
22│   └── avatars
配置 Memcached
Gentoo 系统中安装这两个软件包
 1# sudo emerge net-misc/memcached dev-libs/libmemcached -pvt
 2
 3These are the packages that would be merged, in reverse order:
 4
 5Calculating dependencies... done!
 6Dependency resolution took 1.01 s (backtrack: 0/20).
 7
 8[ebuild   R    ] dev-libs/libmemcached-1.0.18-r4::gentoo  USE="libevent -debug -hsieh -sasl" 0 KiB
 9[ebuild   R    ]  net-misc/memcached-1.6.26::gentoo  USE="seccomp ssl -debug -sasl (-selinux) -slabs-reassign -test" 0 KiB
10
11Total: 2 packages (2 reinstalls), Size of downloads: 0 KiB
安装 python 依赖
1pip install pylibmc django-pylibmc
将以下配置添加到 seahub_settings.py 中:
1CACHES = {
2    'default': {
3        'BACKEND': 'django_pylibmc.memcached.PyLibMCCache',
4        'LOCATION': '127.0.0.1:11211',
5    },
6}
配置 Nginx
 1server {
 2    listen 80;
 3    server_name cloud.macgeeker.com;
 4    proxy_set_header X-Forwarded-For $remote_addr;
 5    location / {
 6         proxy_pass         http://127.0.0.1:8000;
 7         proxy_set_header   Host $http_host;
 8         proxy_set_header   X-Real-IP $remote_addr;
 9         proxy_set_header   X-Forwarded-For $proxy_add_x_forwarded_for;
10         proxy_set_header   X-Forwarded-Host $server_name;
11         proxy_read_timeout  1200s;
12         # used for view/edit office file via Office Online Server
13         client_max_body_size 0;
14         access_log      /var/log/nginx/seahub.access.log;
15         error_log       /var/log/nginx/seahub.error.log;
16    }
17    location /seafhttp {
18        rewrite ^/seafhttp(.*)$ $1 break;
19        proxy_pass http://127.0.0.1:8082;
20        client_max_body_size 0;
21        proxy_set_header   X-Forwarded-For $proxy_add_x_forwarded_for;
22        proxy_connect_timeout  36000s;
23        proxy_read_timeout  36000s;
24        proxy_send_timeout  36000s;
25        send_timeout  36000s;
26    }
27    location /media {
28        root /opt/seafile/seafile-server-latest/seahub;
29    }
30}
Nginx 默认设置 "client_max_body_size" 为 1M。如果上传文件大于这个值的话,会报错,相关 HTTP 状态码为 423 ("Request Entity Too Large"). 你可以将值设为 0 以禁用此功能.
如果要上传大于 4GB 的文件,默认情况下 Nginx 会把整个文件存在一个临时文件中,然后发给上游服务器 (seaf-server),这样容易出错。使用 1.8.0 以上版本同时在 Nginx 配置文件中设置以下内容能解决这个问题:
1location /seafhttp {
2        ... ...
3        proxy_request_buffering off;
4    }
修改 Seafile 配置文件
seahub_settings.py
1SERVICE_URL = 'http://www.myseafile.com'
2FILE_SERVER_ROOT = 'http://www.myseafile.com/seafhttp'
启动服务
在 seafile-server-latest 目录下,运行如下命令:
1./seafile.sh start # 启动 Seafile 服务
2./seahub.sh start  # 启动 Seahub 网站
关闭: stop , 重启: restart
docker 安装
docker 部署是最简单的, 只需要在 这里 下载 docker-compose.yml 文件
 1services:
 2  db:
 3    image: mariadb:10.11
 4    container_name: seafile-mysql
 5    environment:
 6      - MYSQL_ROOT_PASSWORD=db_dev  # Requested, set the root's password of MySQL service.
 7      - MYSQL_LOG_CONSOLE=true
 8      - MARIADB_AUTO_UPGRADE=1
 9    volumes:
10      - /opt/seafile-mysql/db:/var/lib/mysql  # Requested, specifies the path to MySQL data persistent store.
11    networks:
12      - seafile-net
13
14  memcached:
15    image: memcached:1.6.18
16    container_name: seafile-memcached
17    entrypoint: memcached -m 256
18    networks:
19      - seafile-net
20
21  seafile:
22    image: seafileltd/seafile-mc:11.0-latest
23    container_name: seafile
24    ports:
25      - "80:80"
26#      - "443:443"  # If https is enabled, cancel the comment.
27    volumes:
28      - /opt/seafile-data:/shared   # Requested, specifies the path to Seafile data persistent store.
29    environment:
30      - DB_HOST=db
31      - DB_ROOT_PASSWD=db_dev  # Requested, the value shuold be root's password of MySQL service.
32      - TIME_ZONE=Asia/Shanghai # Optional, default is UTC. Should be uncomment and set to your local time zone.
33      - SEAFILE_ADMIN_EMAIL=me@example.com # Specifies Seafile admin user, default is 'me@example.com'.
34      - SEAFILE_ADMIN_PASSWORD=asecret     # Specifies Seafile admin password, default is 'asecret'.
35      - SEAFILE_SERVER_LETSENCRYPT=false   # Whether use letsencrypt to generate cert.
36      - SEAFILE_SERVER_HOSTNAME=seafile.example.com # Specifies your host name.
37    depends_on:
38      - db
39      - memcached
40    networks:
41      - seafile-net
42
43networks:
44  seafile-net:
自定义管理员用户名和密码
默认的管理员账号是 me@example.com 并且该账号的密码是 asecret,您可以在 docker-compose.yml 中配置不同的用户名和密码,为此您需要做如下配置:
1seafile:
2    ...
3    environment:
4        ...
5        - SEAFILE_ADMIN_EMAIL=me@example.com
6        - SEAFILE_ADMIN_PASSWORD=a_very_secret_password
7        ...
使用 Let's encrypt SSL 证书
如果您把 SEAFILE_SERVER_LETSENCRYPT 设置为 true,该容器将会自动为您申请一个 letsencrypt 机构颁发的 SSL 证书,并开启 https 访问,为此您需要做如下配置:
 1seafile:
 2    ...
 3    ports:
 4        - "80:80"
 5        - "443:443"
 6    ...
 7    environment:
 8        ...
 9        - SEAFILE_SERVER_LETSENCRYPT=true
10        - SEAFILE_SERVER_HOSTNAME=
11        ...
如果您想要使用自己的 SSL 证书,而且如果用来持久化存储 Seafile 数据的目录为 /opt/seafile-data,您可以做如下处理:
- 创建 /opt/seafile-data/ssl 目录,然后拷贝您的证书文件和密钥文件到ssl目录下。
- 按照如下示例修改 Nginx 的配置文件/opt/seafile-data/nginx/conf/seafile.nginx.conf。请不要更改该配置文件的文件名。
 1server {
 2    listen 80;
 3    server_name example.seafile.com default_server;
 4    location / {
 5        rewrite ^ https://$host$request_uri? permanent;
 6    }
 7}
 8server {
 9    listen 443;
10    ssl on;
11    ssl_certificate      /shared/ssl/your-ssl-crt.crt;
12    ssl_certificate_key  /shared/ssl/your-ssl-key.key;
13    ssl_ciphers ECDH+AESGCM:DH+AESGCM:ECDH+AES256:DH+AES256:ECDH+AES128:DH+AES:ECDH+3DES:DH+3DES:RSA+AESGCM:RSA+AES:RSA+3DES:!aNULL:!MD5:!DSS;
14
15    server_name example.seafile.com;
16    ...
重新加载 Nginx 的配置文件:docker exec -it seafile /usr/sbin/nginx -s reload
遇到了 Seafile 无法启动并且有如下错误:
1subprocess.CalledProcessError: Command '/scripts/ssl.sh /shared/ssl cloud.seafile-demo.de' returned non-zero exit status 128.
容器中的脚本 /scripts/ssl.sh 需要修改内容, git clone git:// 替换为 git clone https:// 重启服务以使其生效:
1docker compose restart